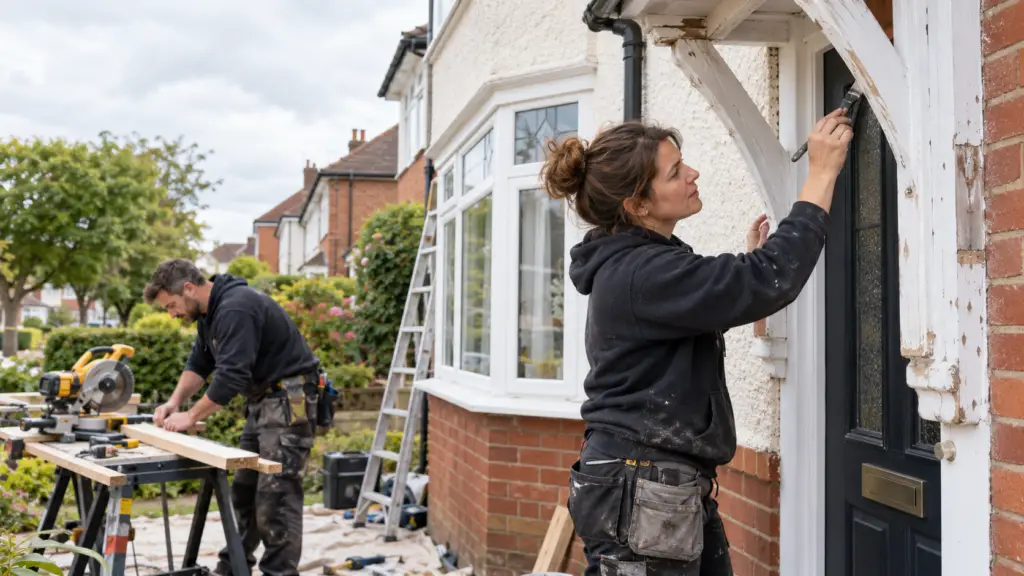
Featured image: an illustration of fictional tradespeople, not a Smart Cow client project.
A customer lands on your website with a few simple questions. Who will turn up? Can they do the kind of job I need? Will they take care in my home? Are they a genuine local business?
Your photographs can answer those questions before the customer calls. You do not need hundreds of them. You need a small set of clear, current images that show the people, work and business behind the words.
If you already have suitable photographs, start with those. A real image of your team or a completed job usually tells a more useful story than a generic picture of someone holding a drill. Here are five to check for on your site.
1. The people a customer might meet
Show the owner, the team, or the person who visits to quote and carry out the work. A relaxed photograph at your workshop or on a job is enough. It need not look like a formal corporate portrait.
The customer is deciding whether they feel comfortable inviting you to their property. Seeing a real person makes the business less anonymous. If you are a plumber working alone, a straightforward photo of you beside your van may be more helpful than a picture of a large team you do not have.
Avoid old staff pictures, hidden faces and staged handshakes with models. Try this: ask a colleague to take a few photos of you in good daylight, looking at the camera and also working naturally. Choose one that still looks clear on a phone.
2. A completed job like the one they need
Show finished work that represents the jobs you want more of. Frame it so someone can see the result clearly, with enough surroundings to understand the scale. A roofer might show a repaired section of roof and its neat flashing. A landscaper might show a finished patio from the garden gate.
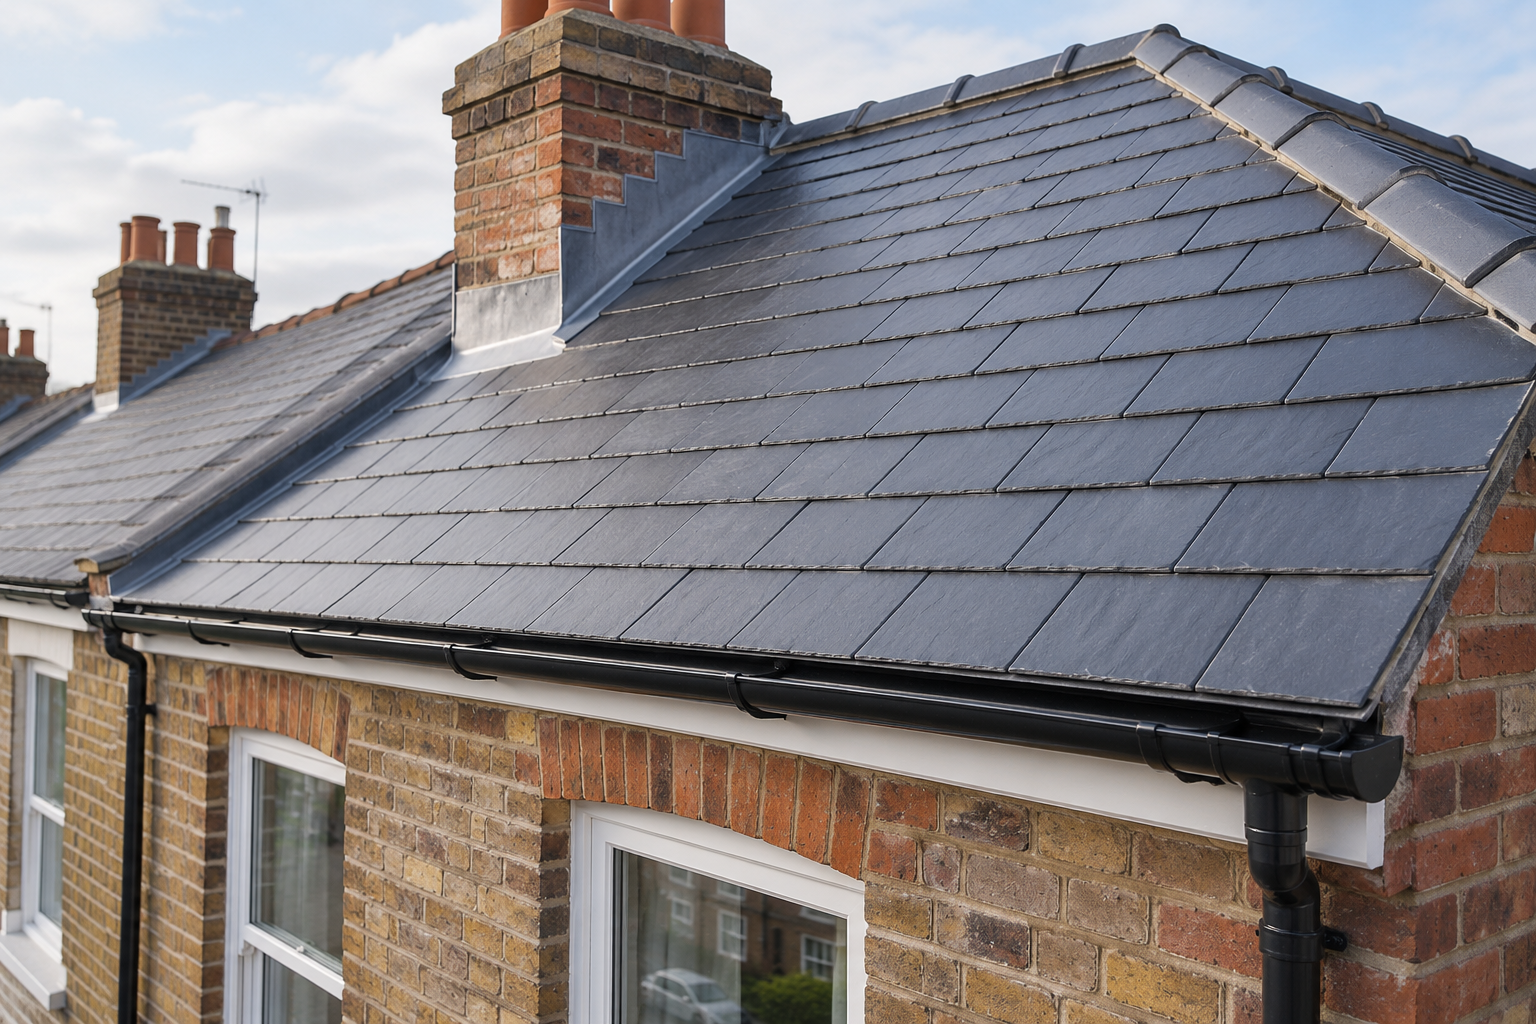
The customer wants to judge whether you do their kind of work and what standard to expect. A dozen distant shots of different houses make that harder. So do dark, blurry photos or pictures of work completed years ago.
Try this: pick one recent, typical job. Take a wide shot to show context, then a closer shot of the detail that shows your care. Add a short caption saying what the job involved, without claiming more than the photos show.
3. Your team doing the job
A finished result tells only part of the story. Show a real worker preparing, fitting, testing or tidying up. For an electrician, that might be a tidy installation in progress with the work area visible. For a builder, it could be the team measuring or setting out before work starts.
This helps a customer picture how you work at their property. It can show practical care that a polished final photograph misses. Choose a moment that reflects your normal process, including appropriate workwear and safe working practice.
Avoid a shot that looks careless, cluttered or unsafe. Do not ask someone to pose with a tool in a way they would never actually use it. Try this: on the next suitable job, ask a colleague to take three candid photos at different stages. Review them before the team leaves.
4. The same job before and after
Where the change is visible, a matched pair can explain your work quickly. Photograph the problem before work begins, then the finished outcome from almost the same position and angle. A landscaper can show an uneven, waterlogged patio and the relaid surface afterwards. A decorator can show a worn room and the completed finish.
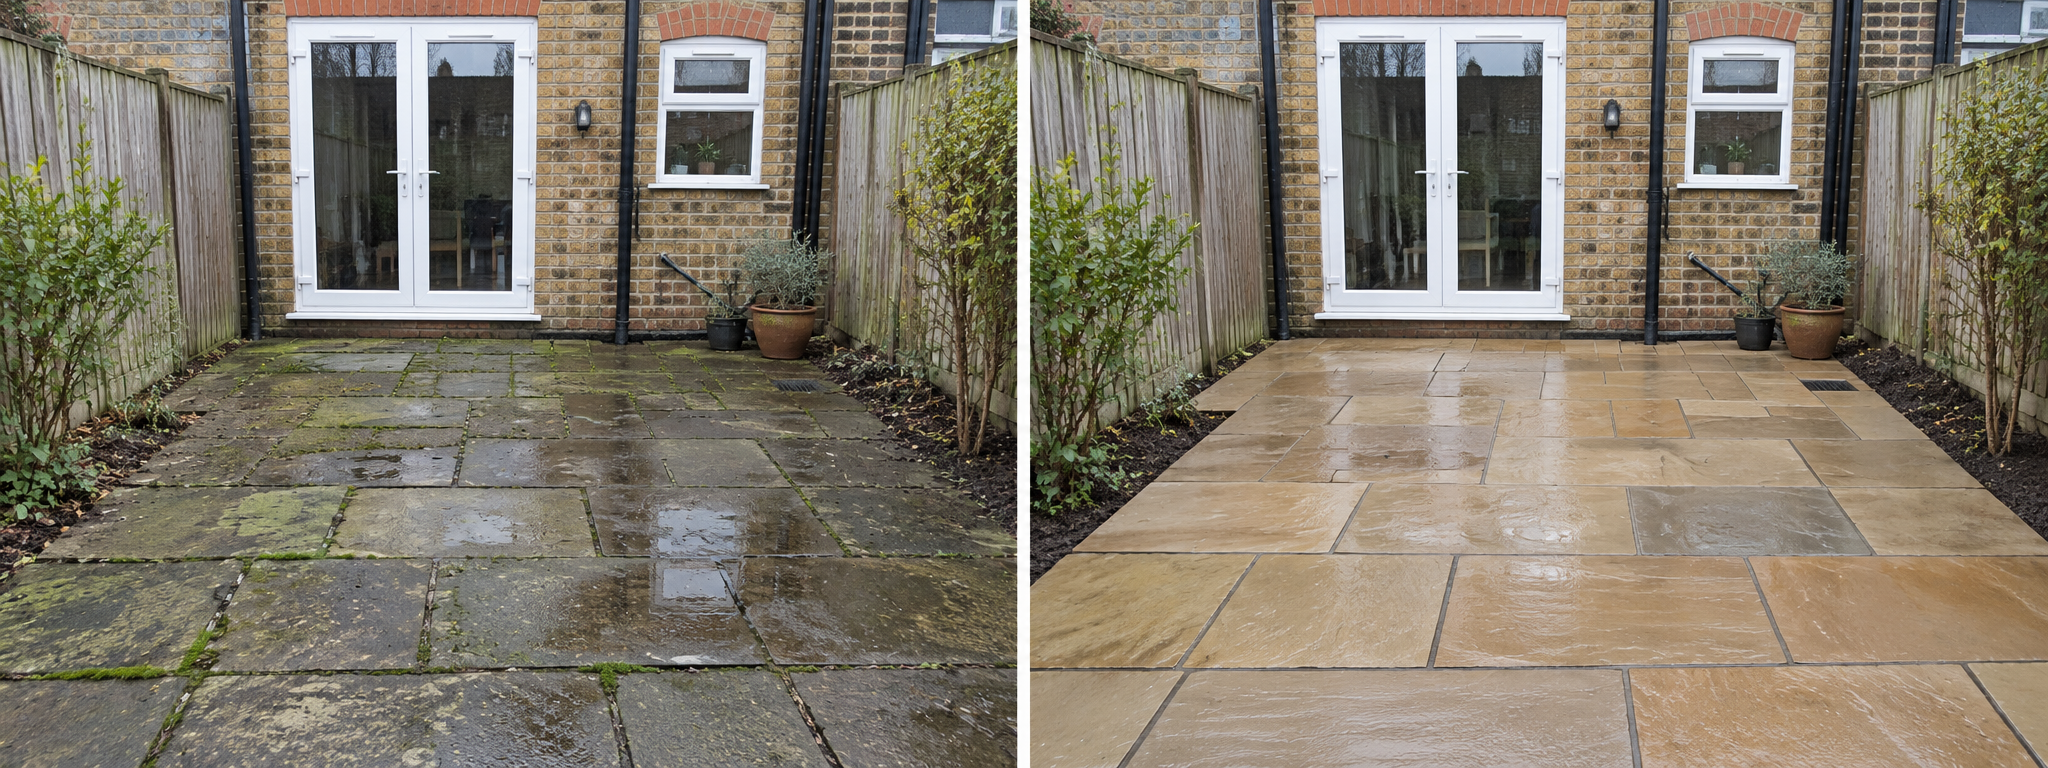
The comparison helps the customer understand what changed. It is less convincing when the “after” photo uses a flattering angle while the “before” photo is dark, or when the two pictures are actually different jobs.
Try this: make a habit of taking the first photograph before tools or materials are moved. Mark a safe standing point so you can return for the second. Only use a pair when it fairly represents the work you did.
5. A detail that shows the business is local and real
Show a genuine part of your working life: your workshop, team outside your premises, or a van you actually use. This photograph supports your contact details and service area. A customer looking for a local roofer or plumber may want to know there is a real business behind the website, not just a generic lead form.
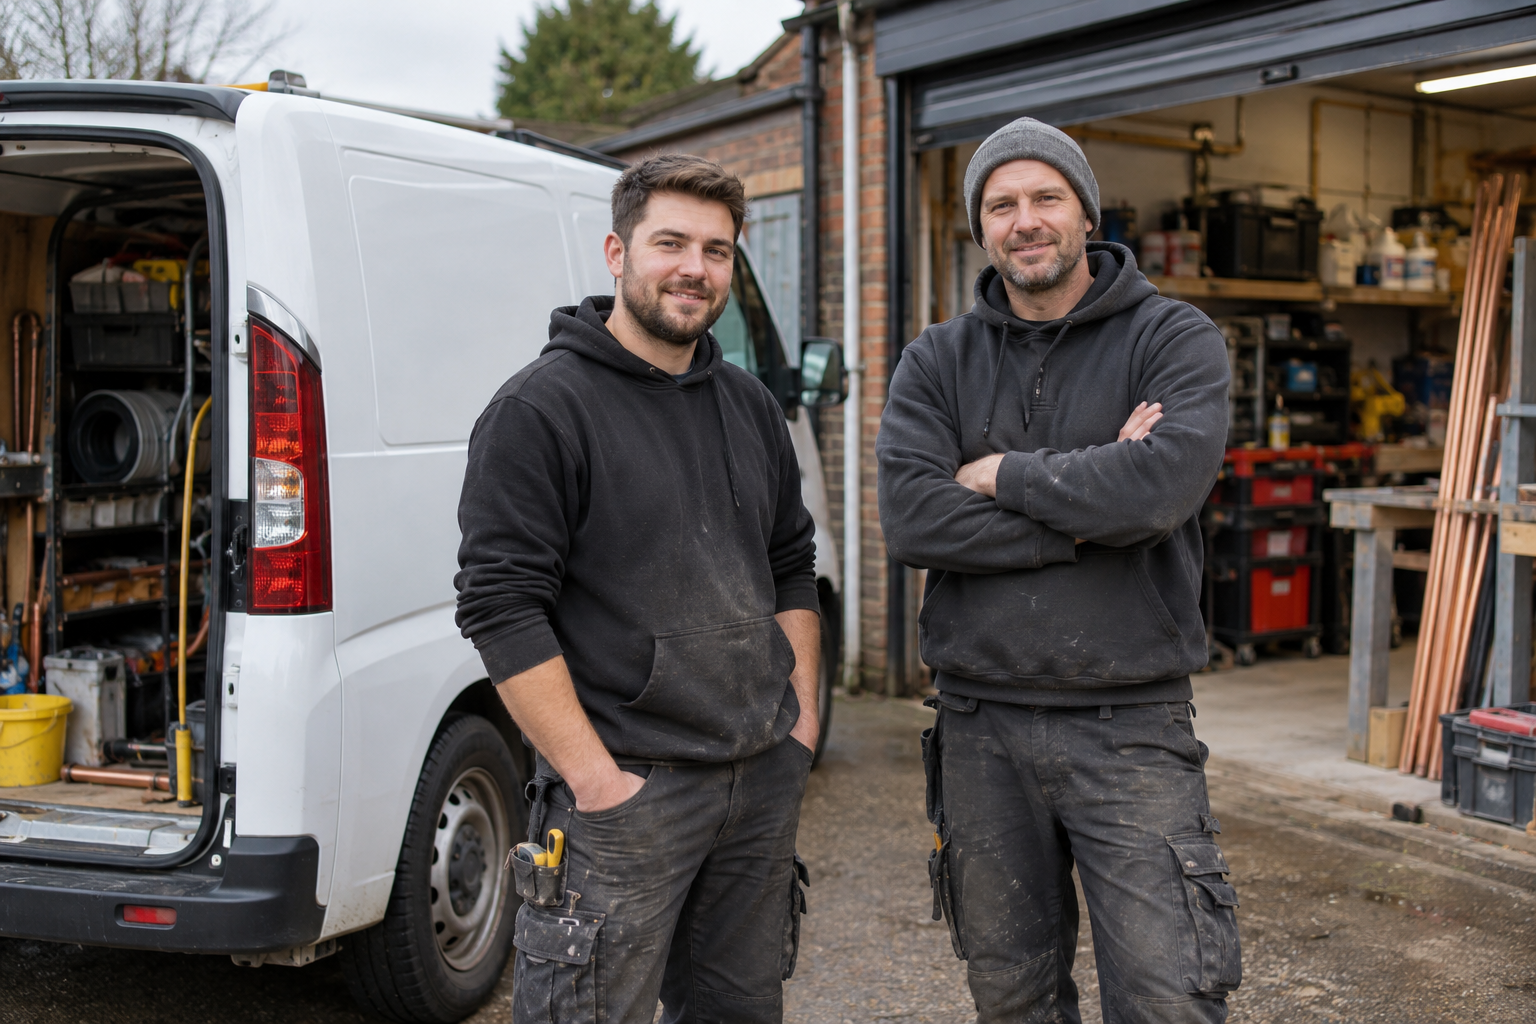
A van photo alone is not proof of quality, and it should not crowd out the work itself. Avoid stock pictures of unbranded fleets, old premises or an address you no longer use. Try this: choose one recognisable, current business detail and photograph it in daylight. Check that the business information shown in the image matches your website.
Make the five photos work harder
Put each photograph near the claim it helps explain. A team photo belongs beside your introduction. Finished work and before-and-after pairs belong with the relevant service or project. Give each image a short, factual caption where it adds context. On a phone, check that the important detail remains visible and the file loads without a long wait.
Photographs are one part of the page. Make sure the surrounding words explain the service and the next step clearly too. Smart Cow’s small-business web design tips can help with that wider check.
Take care with permission. Before publishing, check whether a photograph identifies a customer, their home, a child, a number plate or private information. Ask for suitable permission where needed, and remove or crop details you should not show. Do not use someone else’s project as your own.
You may want a professional photographer for a larger refresh, but you do not need a photoshoot for every update. A recent, well-lit phone photo of your actual people and work can be a better starting point than a polished image that says nothing about your business.
Start with the five categories above. If one is missing, make it the photo you capture on your next suitable job. If your website still does not make it easy for visitors to understand your work and get in touch, request a Smart Cow website review.